You don't need every code to start strong. Redeem 500K, BETA, and D1 from the main menu's gift button before you spawn—those free Points buy your first meaningful gear upgrade, and codes in this beta expire without warning. The real trap is burning those Points on cosmetics before you understand which stats actually keep you alive above 7,000 meters.
The Codes Are a Distraction from the Real Economy
Most players treat codes like a checklist. They redeem, spend immediately on a jacket color they like, and wonder why they're freezing on the Abruzzi Spur three hours later. Here's what the source doesn't emphasize: Points from codes are front-loaded and finite. The active list (500K, BETA, D1) represents your entire code-based income unless the devs at 14PEAKS STUDIOS drop more. Once spent, you're earning Points through climbs alone—and early climbs pay badly.
The hidden variable is gear tier unlock order. Your first purchase should prioritize cold resistance and oxygen efficiency, not speed or grip. Speed kills new players because they move faster than their stamina regenerates, hit the wall at altitude, and can't retreat before weather rolls in. Grip matters less early because the beta's lower routes have forgiving holds; the game doesn't teach you that the real difficulty spike happens when ice glazing masks those holds above Camp 2.
| Early Purchase | What It Actually Does | When to Buy |
|---|---|---|
| Base insulated jacket | Extends time before hypothermia ticks | First, before any climb |
| Oxygen regulator upgrade | Reduces O2 consumption rate by tier | Second, before attempting 6,000m+ |
| Speed boots | Increases movement speed | Third or later—speed without stamina is a death sentence |
| Cosmetic overrides | Nothing functional | Never before first successful summit |
The trade-off most miss: higher-tier gear has repair costs. That shiny regulator you bought with code Points? It degrades. Repairing it after a failed run sometimes costs more than the run earned. If you buy tier 2 gear before you can consistently reach Camp 3, you're net negative on currency and stuck in a death loop—literally, since corpse recovery in this beta is punishing.
Decision shortcut: Don't spend code Points until you've died once and seen the repair screen. That first death is free education. Spend after.
What the Tutorial Under-Explains (And Costs You Runs)
The beta's tutorial covers movement, basic stamina, and "weather happens." It does not explain three mechanics that determine whether your session lasts twenty minutes or two hours.
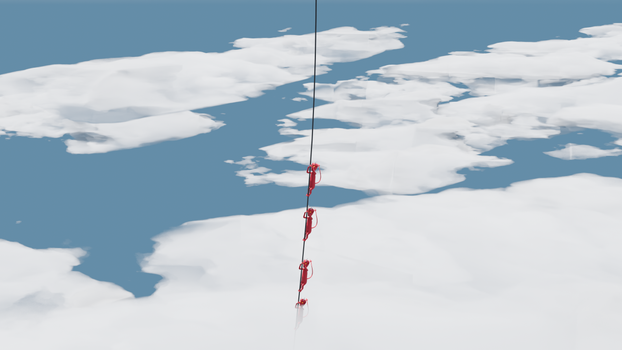
Stamina regeneration is altitude-gated. Below 5,000 meters, you recover stamina while stationary. Above that threshold, regeneration slows and eventually stops unless you're in a sheltered position the game never defines. The trick: crouch behind rock formations or inside tent waypoints. The UI doesn't highlight these zones. You learn by noticing your stamina bar pulse faster, or you don't learn and wonder why you're exhausted at 7,000 meters with no escape.
Weather isn't purely random. Storm probability scales with time spent at altitude and number of players in your session. Solo climbing reduces storm frequency significantly. Most new players join public lobbies for the social aspect and get hammered by back-to-back whiteouts they blame on bad luck. If you're learning routes, solo or small private groups are the efficient path. The trade-off: no revive partners if you fall.
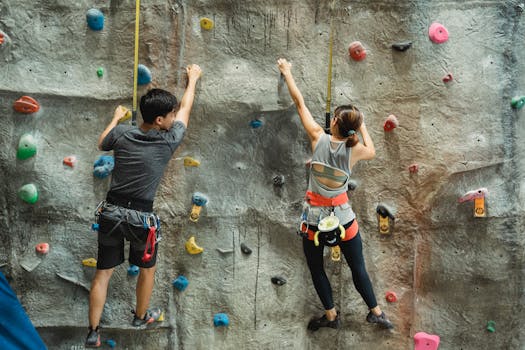
Fall damage has a hidden grace window. The beta applies velocity-based damage, but there's a ~0.5 second window after losing grip where you can re-grab without penalty. The tutorial never mentions this. Players who panic-mash the grab button waste stamina and miss the window. Players who time one clean re-grab save runs. Practice on the training wall until this feels automatic—it's cheaper than learning during a 45-minute ascent.
The oxygen system has another layer the source material skips: partial tank swaps. You don't need full tanks at waypoints. Swapping at 30% remaining often lets you carry an extra partial in reserve for emergency retreats. Full swaps are for planned pushes. Most players auto-swap to full every time, burning waypoints they need later and forcing riskier routes home.
The First-Hour Decision Fork
Your first hour shapes everything because K2 Climbing Simulation [Beta] uses progressive unlock gating poorly explained in-game. Here's the actual branch:
Path A: Summit rush. Push for the top immediately, likely fail, but unlock the "Attempted Summit" flag. This opens higher-tier gear in the shop and reveals the true oxygen/stamina math. Risk: repeated failures drain your code Points on repairs before you understand the economy.
Path B: Camp grinding. Repeatedly reach Camp 2 or 3, turn back deliberately, farm consistent smaller Point payouts. Slower unlock progression but preserves currency. Risk: boredom, and you learn retreat routes better than push routes—which matters later, but feels like stagnation now.
Path C: Hybrid. One deliberate death to see repair costs, one Camp 3 retreat to learn the route, then summit push with remaining resources. This is the efficient path, but only if you resisted spending Points during the first two phases.
The asymmetry: Path A players who succeed early dominate the leaderboard and feel rewarded. Path A players who fail three times often quit, having burned their code income and hit a resource wall. Path B players rarely quit but rarely top leaderboards. The beta's design currently rewards risk-takers who get lucky, which is worth knowing before you decide what "success" means to you.
The next 2-3 decisions after your first hour:
- Solo vs. group commitment. Group play for revive safety requires voice coordination—the beta's ping system is inadequate for complex rescues. If you don't have regular partners, invest in self-sufficient gear instead.
- Route specialization. The Abruzzi Spur and Cesen Route have different gear optima. Splitting Points between both delays either's mastery. Pick one.
- Code monitoring cadence. The 14PEAKS STUDIOS Discord and Roblox group are the actual channels for new codes. Bookmarking a codes page helps, but Discord gets them first—sometimes with expiration windows under 24 hours.

Conclusion
Redeem the three active codes immediately, spend nothing until you've seen the repair screen once, then buy cold resistance before speed. The beta punishes players who treat it like a cosmetic showcase; it rewards those who treat the first hour as an economic tutorial dressed in climbing gear. Your worst mistake isn't falling—it's spending your finite code Points before you understand what falling costs.


